SSH Keys
Fileglancer’s SSH key manager lets you generate authorized SSH keys from the browser. Keys are automatically added to your ~/.ssh/authorized_keys file on the Janelia filesystem. The main purpose of this feature is to streamline onboarding for new users of Janelia’s Seqera Platform instance.
Accessing the SSH Key Manager
Section titled “Accessing the SSH Key Manager”The SSH key manager is available from the profile menu in the upper-right corner of any Fileglancer page.
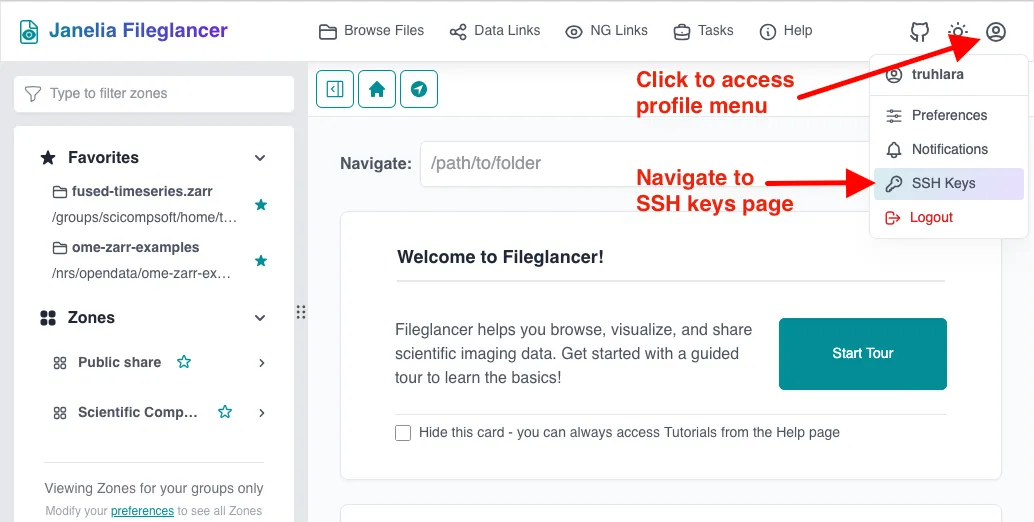
Click your username or profile icon in the top-right corner, then select SSH Keys from the dropdown menu.
Generating a New SSH Key
Section titled “Generating a New SSH Key”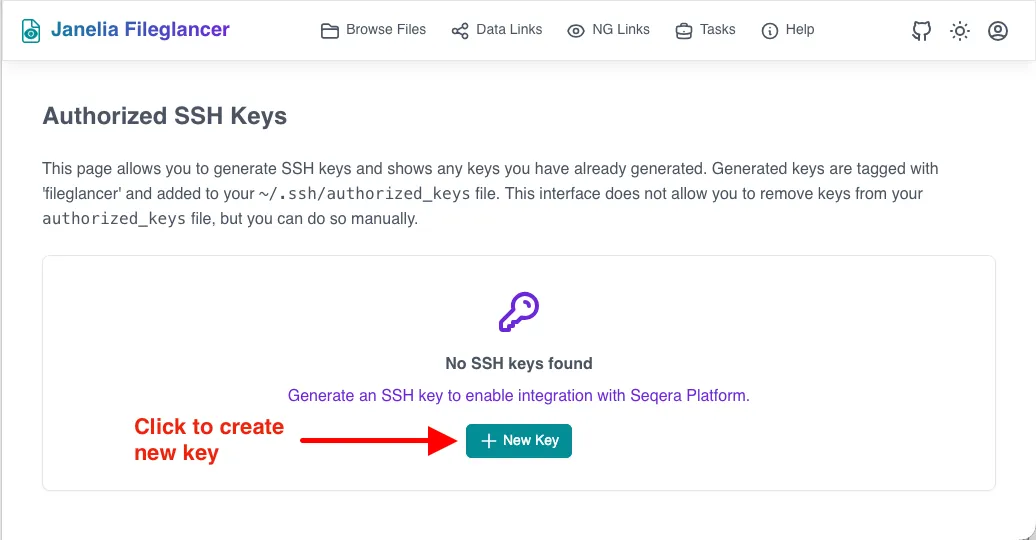
-
Open the SSH Keys page
Select SSH Keys from the profile menu. If you have not generated any keys yet, the page will show an empty state with a + New Key button. -
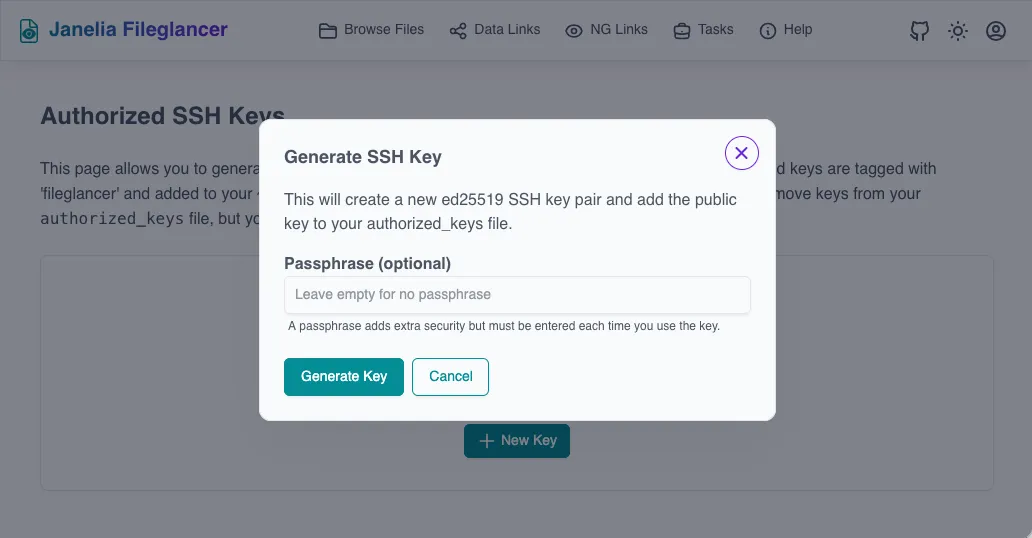
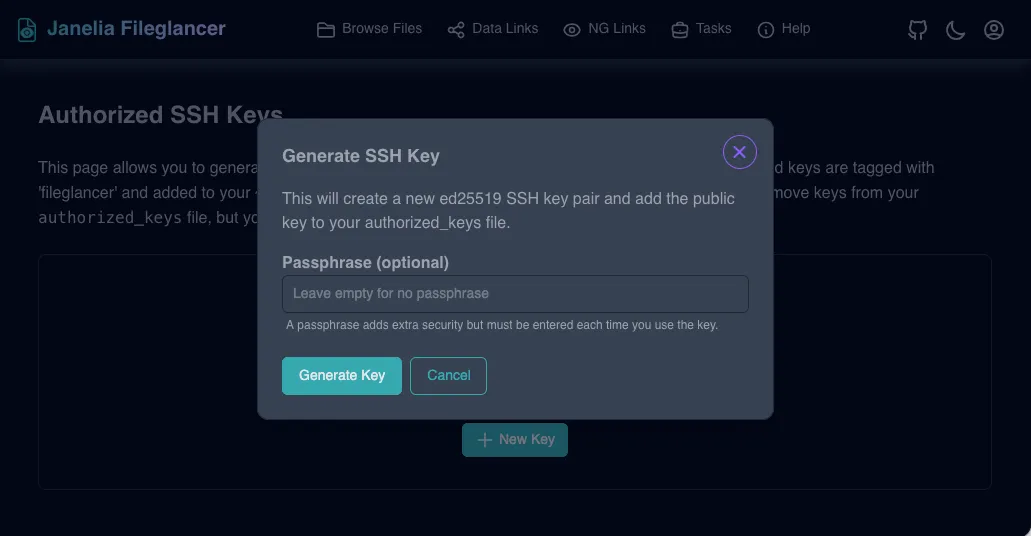
Click ”+ New Key”
The Generate SSH Key dialog opens. This will create a newed25519key pair and add the public key to your~/.ssh/authorized_keysfile automatically. -
Optionally enter a passphrase
You may enter a passphrase to add an extra layer of security to your private key. Leave the field empty if you want passwordless access. Note that if you set a passphrase, you will need to enter it each time the key is used. -
Click “Generate Key”
Fileglancer generates the key pair. A confirmation dialog appears immediately with your new key’s details.
Copying Your Private Key
Section titled “Copying Your Private Key”After the key is generated, the SSH Key Generated dialog displays:
- A prominent warning to copy the private key immediately
- A Copy Private Key button to copy the key to your clipboard
- Key Information showing the key type (
ssh-ed25519), full fingerprint, and comment (fileglancer)
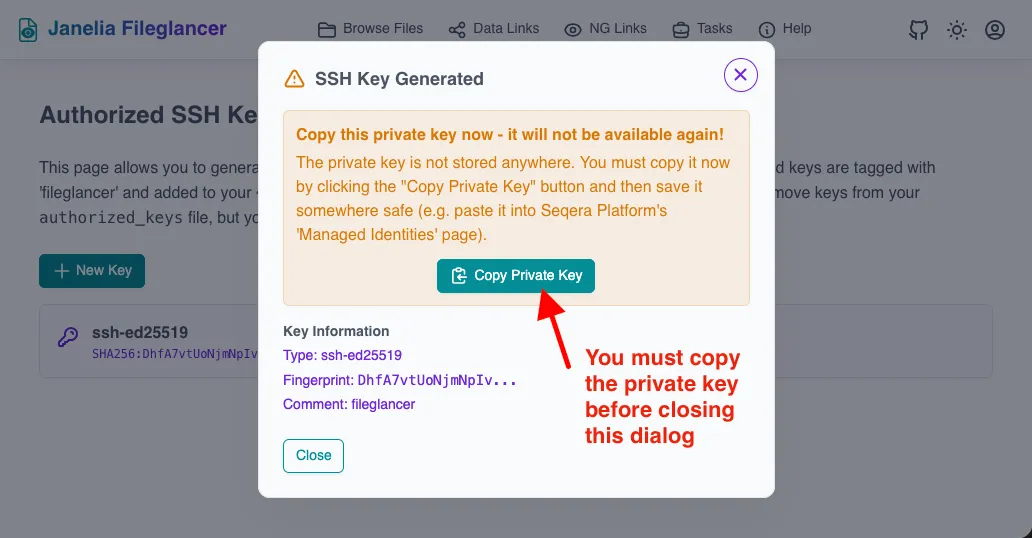
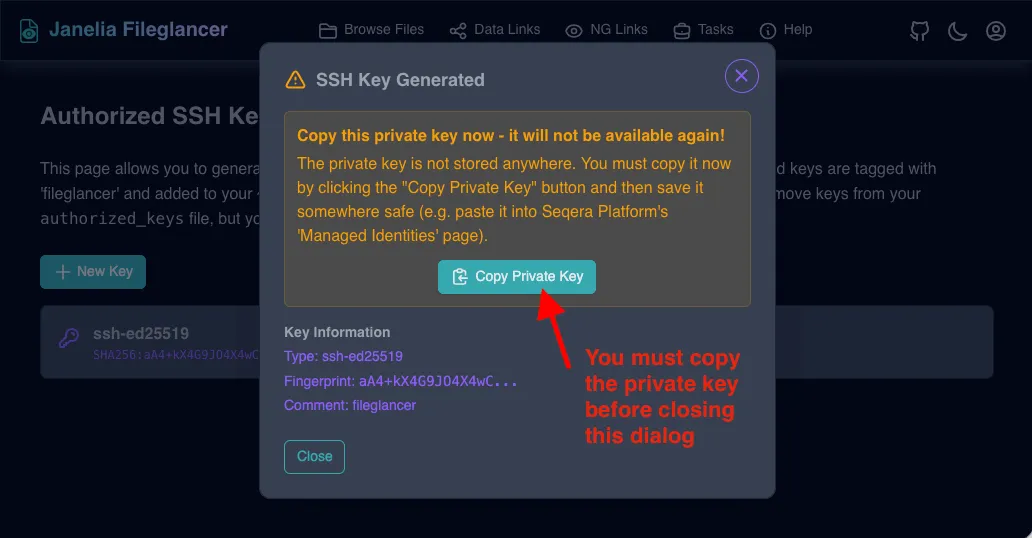
Click Copy Private Key and paste the key somewhere safe before clicking Close. Common destinations include:
- Seqera Platform (see Using SSH Keys with Seqera Platform below)
- A secure password manager or key vault
Viewing Your Authorized Keys
Section titled “Viewing Your Authorized Keys”After closing the confirmation dialog, the SSH Keys page lists all keys you have generated through Fileglancer. Each entry shows the key type and its SHA256 fingerprint.
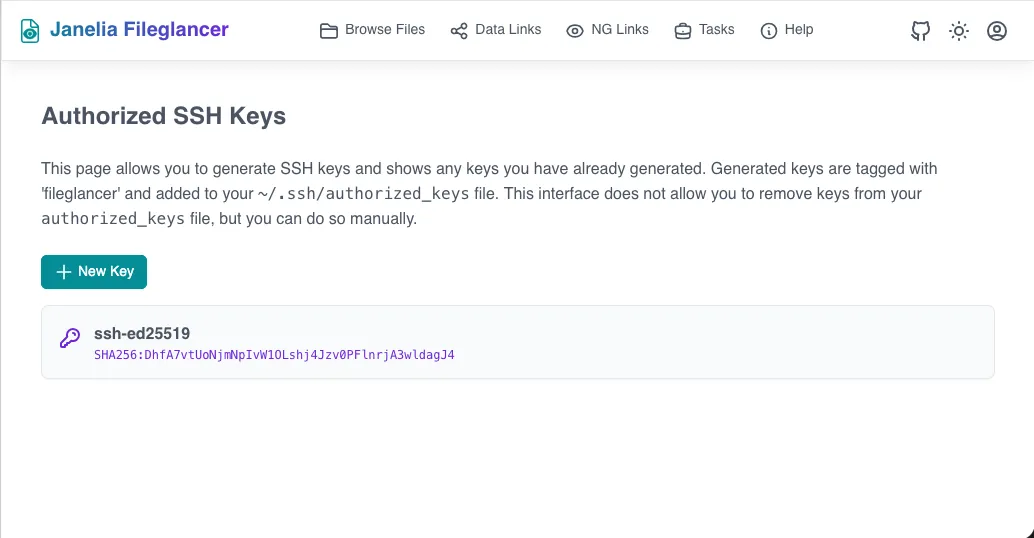
Keys are tagged with the comment fileglancer so you can identify them in your ~/.ssh/authorized_keys file. This also means they are visible on any cluster node that shares your home directory.
Using SSH Keys with Seqera Platform
Section titled “Using SSH Keys with Seqera Platform”The primary use case for Fileglancer-generated SSH keys is onboarding to Janelia’s Seqera Platform instance. Seqera Platform uses SSH keys to authenticate pipeline jobs running on cluster nodes.
The Janelia wiki provides more information about the Janelia Seqera Platform instance and detailed instructions for adding SSH keys.
In brief, to add your key to Seqera Platform:
- Generate a new SSH key in Fileglancer and copy the private key as described above.
- Log into Seqera Platform
- Navigate to Your credentials settings
- Click Add credentials. Under Provider, select SSH, and paste in the private key you copied from Fileglancer.
Once configured, Seqera Platform can authenticate as you when launching jobs across cluster nodes — no manual SSH setup required.
Removing SSH Keys
Section titled “Removing SSH Keys”The SSH Keys page in Fileglancer does not provide a way to delete keys. This must be done manually by editing your ~/.ssh/authorized_keys file, found in your home directory on the Janelia filesystem.
Troubleshooting
Section titled “Troubleshooting”I closed the confirmation dialog before copying my private key
- The private key cannot be recovered. Generate a new key using + New Key and copy it before closing the dialog.
- You may want to remove the old key from
~/.ssh/authorized_keysto keep your authorized keys list tidy.