Tutorials

Fileglancer provides interactive guided tours to help you learn the platform’s key features. These tours walk you through common workflows step-by-step.
Accessing the Tours
Section titled “Accessing the Tours”From the Landing Page
Section titled “From the Landing Page”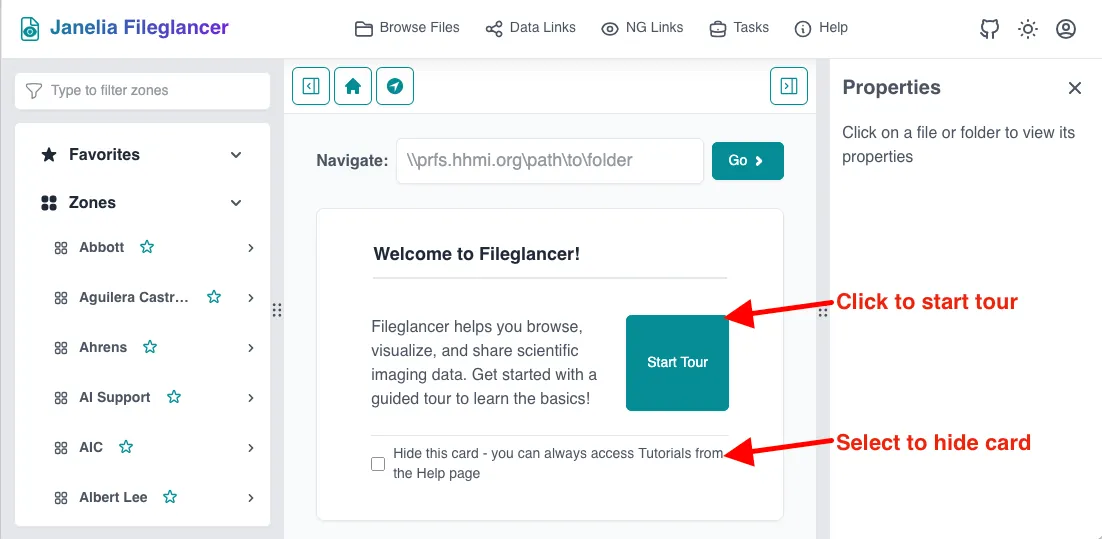
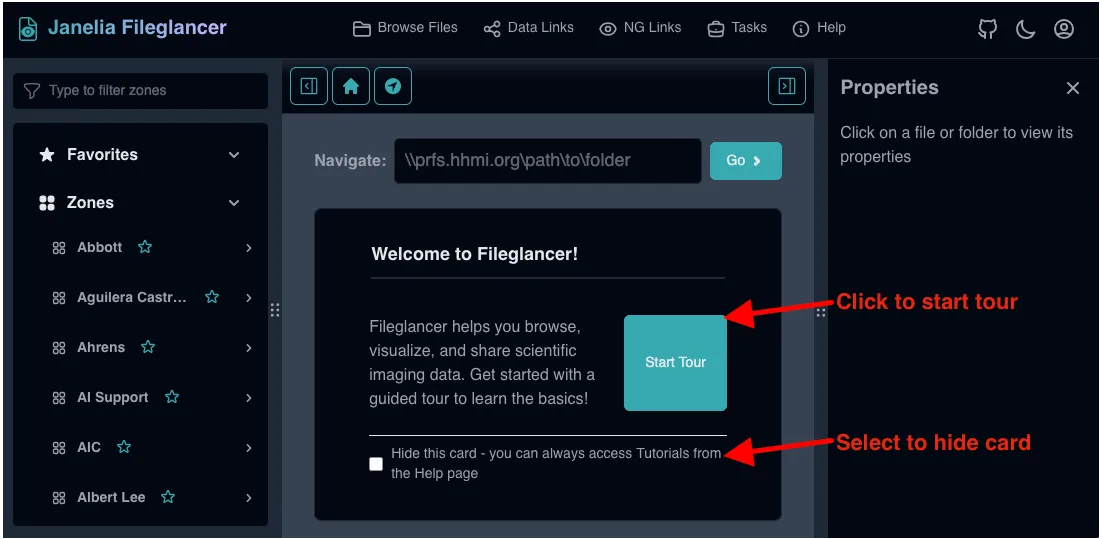
When you first log in to Fileglancer, you’ll see a welcome card on the landing page with a “Start Tour” button. This card offers quick access to the tutorials.
You can hide this card by checking the “Hide this card” option. Don’t worry—you can always access the tours from the Help page.
From the Help Page
Section titled “From the Help Page”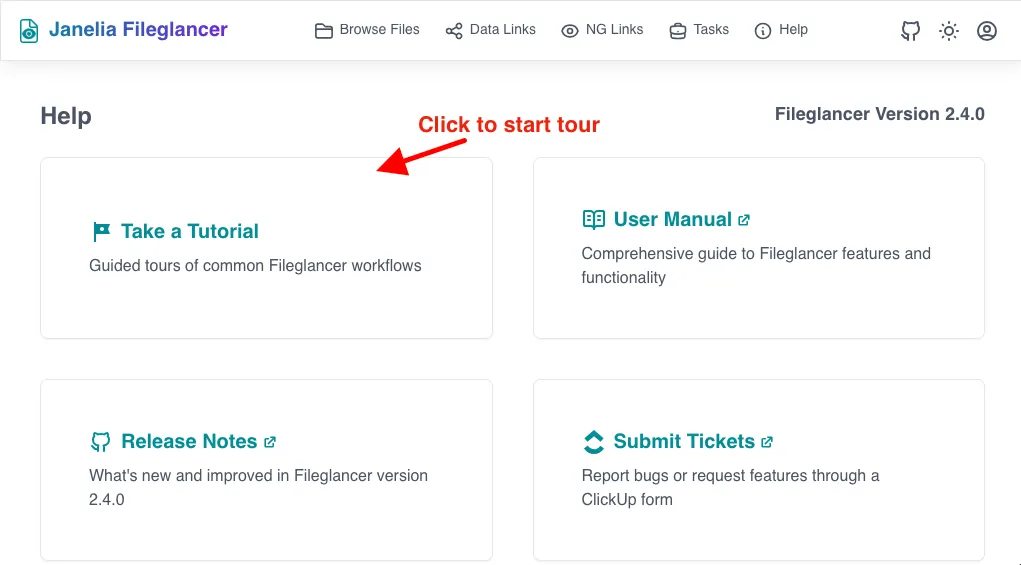
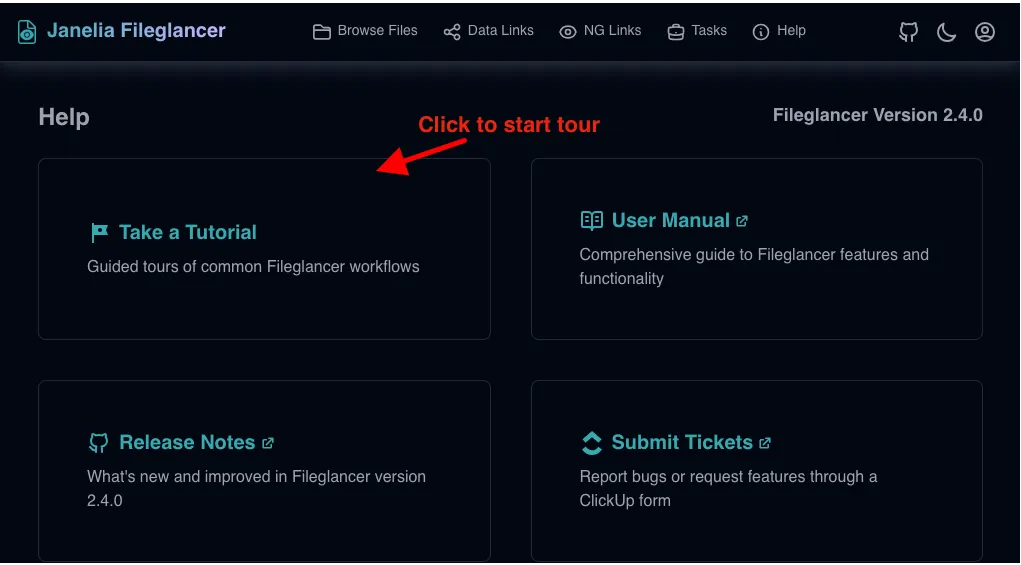
The tours are always accessible from the Help page:
- Click the Help link in the top navigation bar
- Find the Take a Tutorial card
- Click to open the tour selection dialog
Available Tours
Section titled “Available Tours”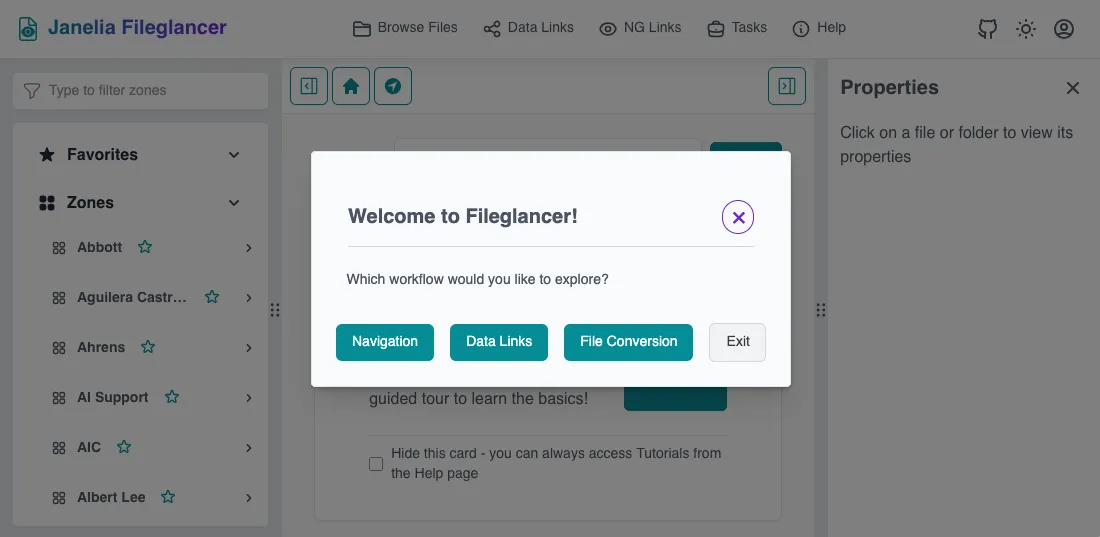
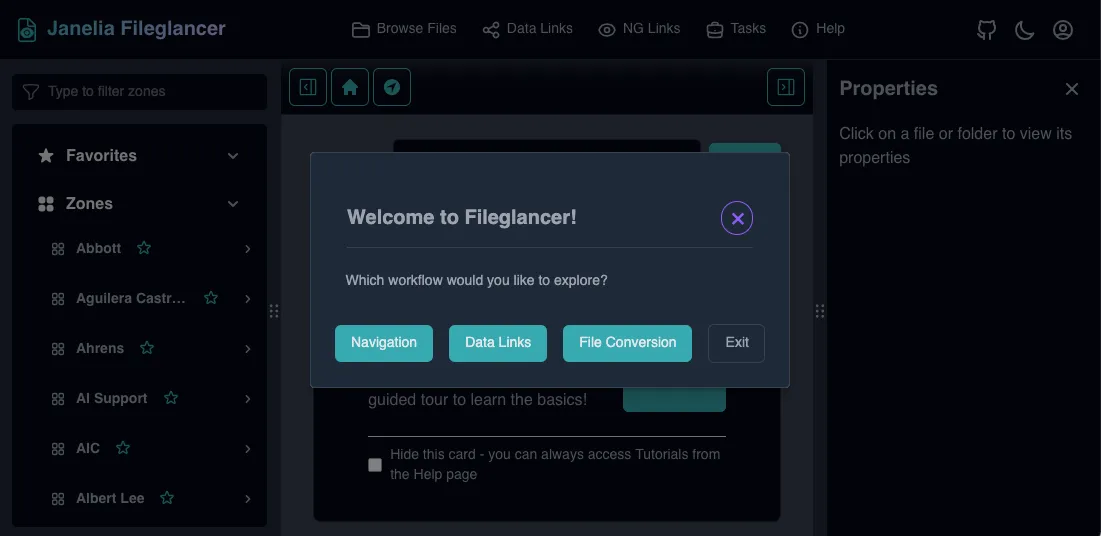
When you open the tutorial interface, you’ll be presented with three tour options. Each tour focuses on a specific workflow in Fileglancer.
1. Navigation Tour
Section titled “1. Navigation Tour”Learn how to browse and find files in Fileglancer. This tour covers:
- “Navigate to path” widget: Quickly jump to a specific directory
- Sidebar: Accessing zones, file shares, and favorites
- Main file browser: Browsing directories and viewing files
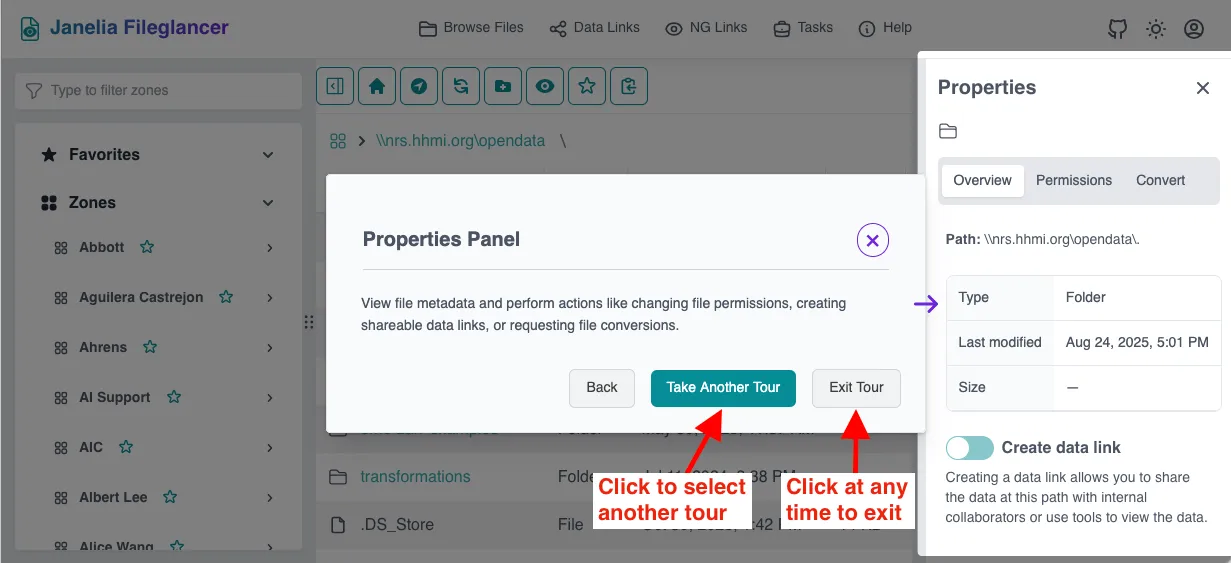
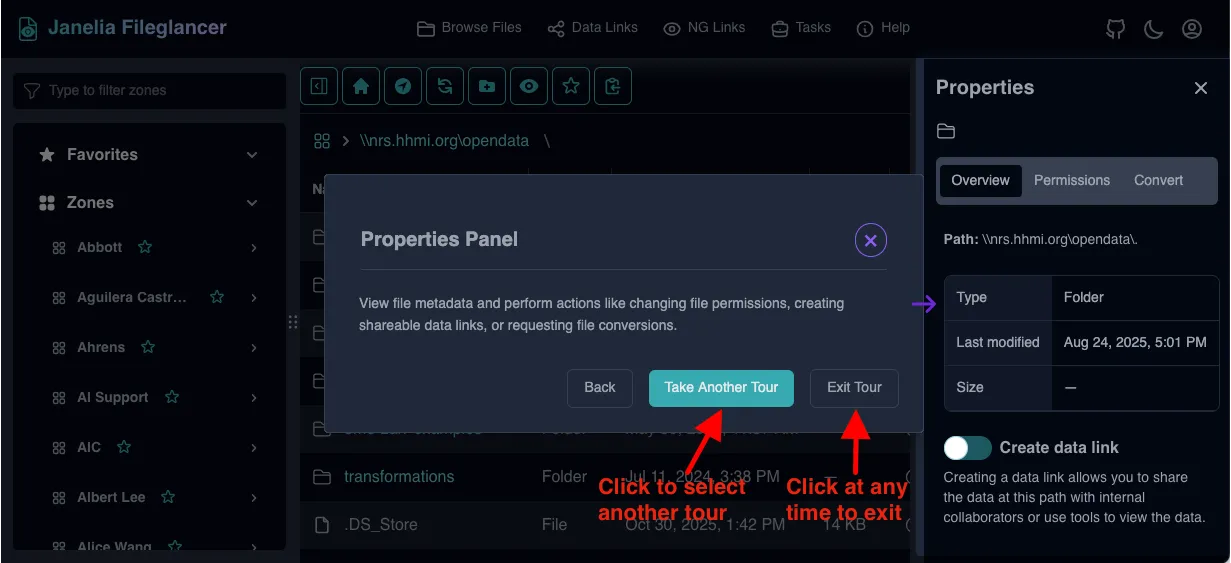
- Properties panel: Viewing file and folder information
For further information on navigation features, see the Navigating Files workflow guide.
2. Data Links Tour
Section titled “2. Data Links Tour”Discover how to create and share links to your data. This tour covers:
- Creating data links from the Properties panel: Using the toggle switch to enable sharing for any directory
- Creating data links for OME-Zarr, Zarr, or Cellmap N5 images: Opening viewers and creating shareable links for imaging data
- Enabling automatic data links: Streamlining the link creation process through enabling this preference
For further information on data links, see the Creating Data Links workflow guide.
3. File Conversion Tour
Section titled “3. File Conversion Tour”Learn how to request file format conversions for your scientific imaging data. This tour covers:
- Opening the Convert tab: Accessing the conversion interface in the Properties panel
- Opening a conversion request: Filling out and submitting a conversion request form
- Monitoring conversion status: Using the Tasks page to track your conversion requests
For further information on file conversions, see the File Conversion Requests workflow guide.
Taking Multiple Tours
Section titled “Taking Multiple Tours”At the end of any tour, you have two options:
- Take Another Tour: Returns you to the tour selection dialog to choose a different tour
- Exit Tour: Closes the tutorial interface and returns you to your workflow
You can take the tours in any order and repeat them as many times as you’d like.
Tips for Using the Tours
Section titled “Tips for Using the Tours”- Follow along in real-time: The tours guide you through actual features in the interface, so you can practice as you learn
- Repeat as needed: Revisit any tour when you need a refresher on a workflow
- Explore after completion: Once you finish a tour, try using the features on your own to reinforce what you learned
- Consult the workflow guides: Each tour corresponds to a detailed workflow guide for deeper understanding